TUTORIAL: 3D PRINTED PEN
1 – Sketch
I started with a sketch of my pen. This step allows me to get a visual idea of the overall dimensions and the different parts needed to create a functional pen. The goal is to visualize the shape before moving on to 3D modeling.
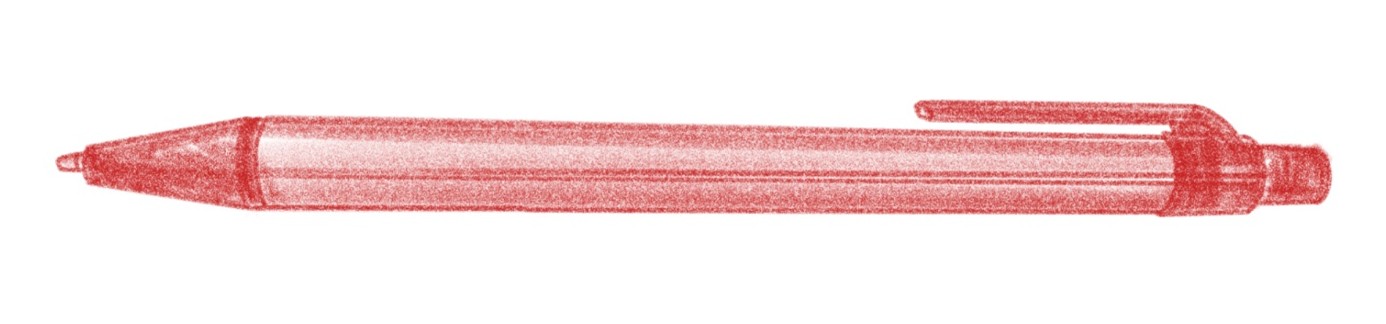
After considering several options, I decided to divide the pen into three parts:
- The main body is designed to hold the ink cartridge. I wanted it to be comfortable to hold, hence the relatively classic design.
- The front tip is essential to keep the cartridge from slipping out.
- The button allows the ink refill to stay inside or outside the main body.
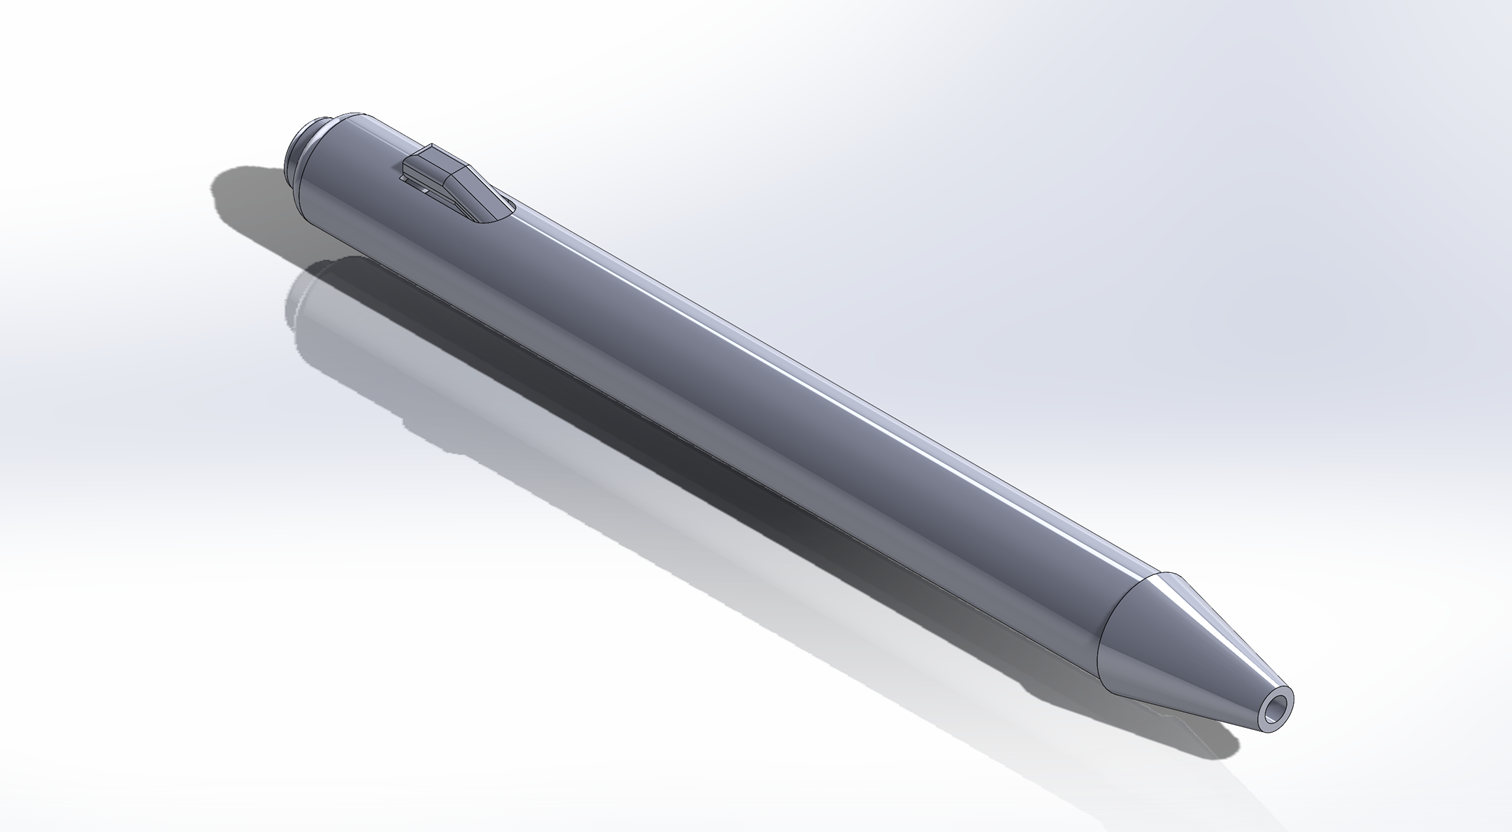
2 – Modeling
To model my pen, I used SolidWorks software. The pen is divided into three main components: the front tip, the button, and the complete assembled pen.
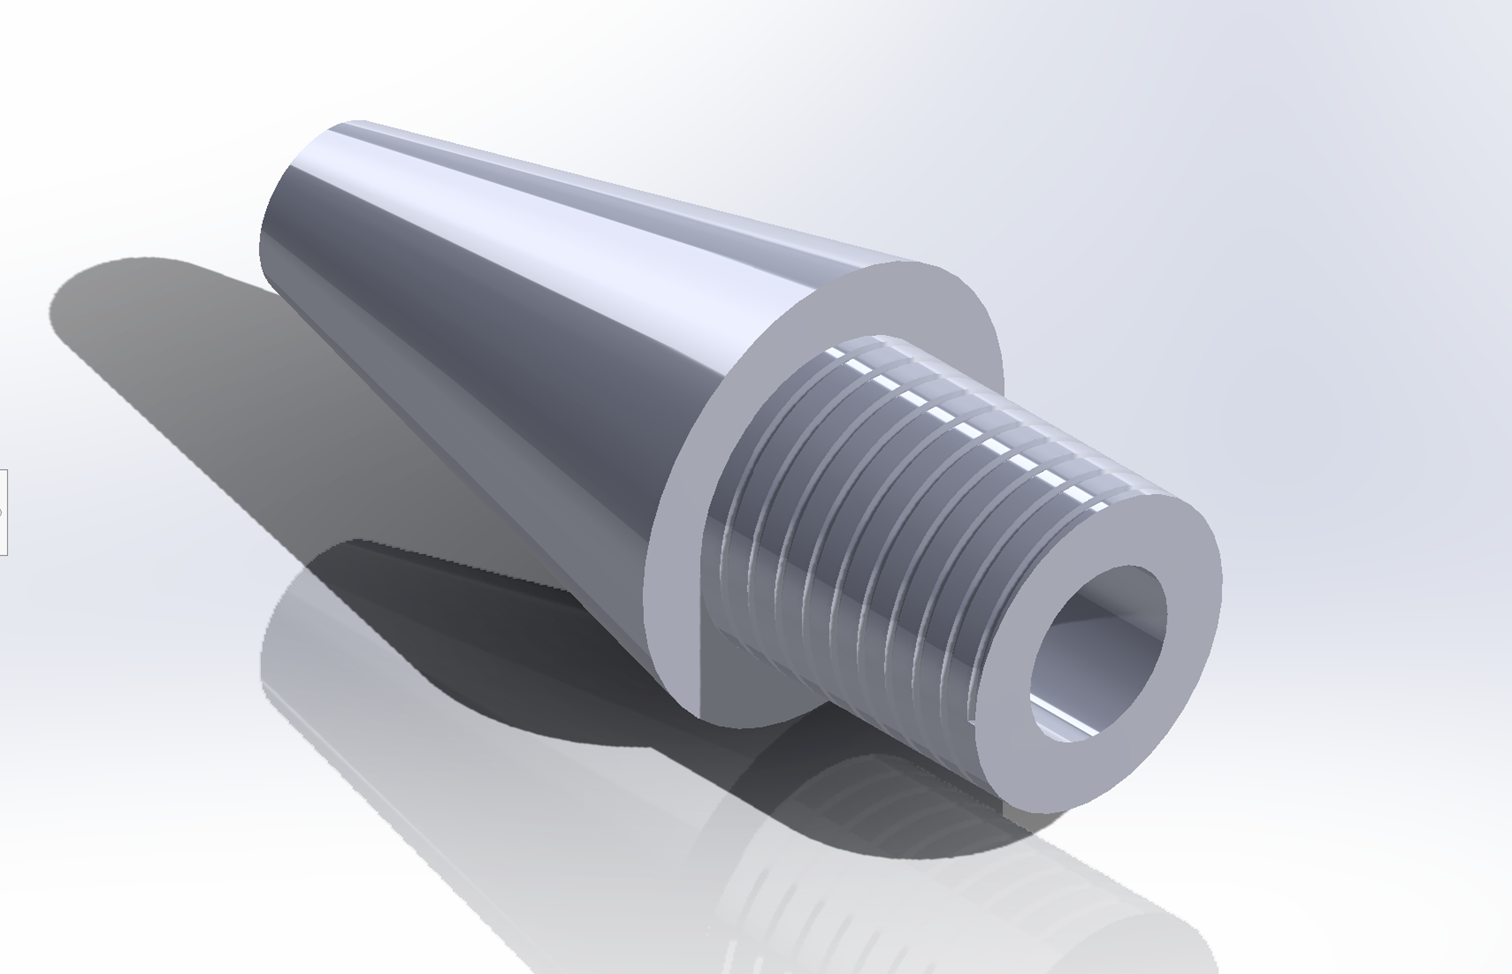
Front Tip
The front tip features threading to screw onto the main body and includes material removal to allow the ink cartridge to pass through.
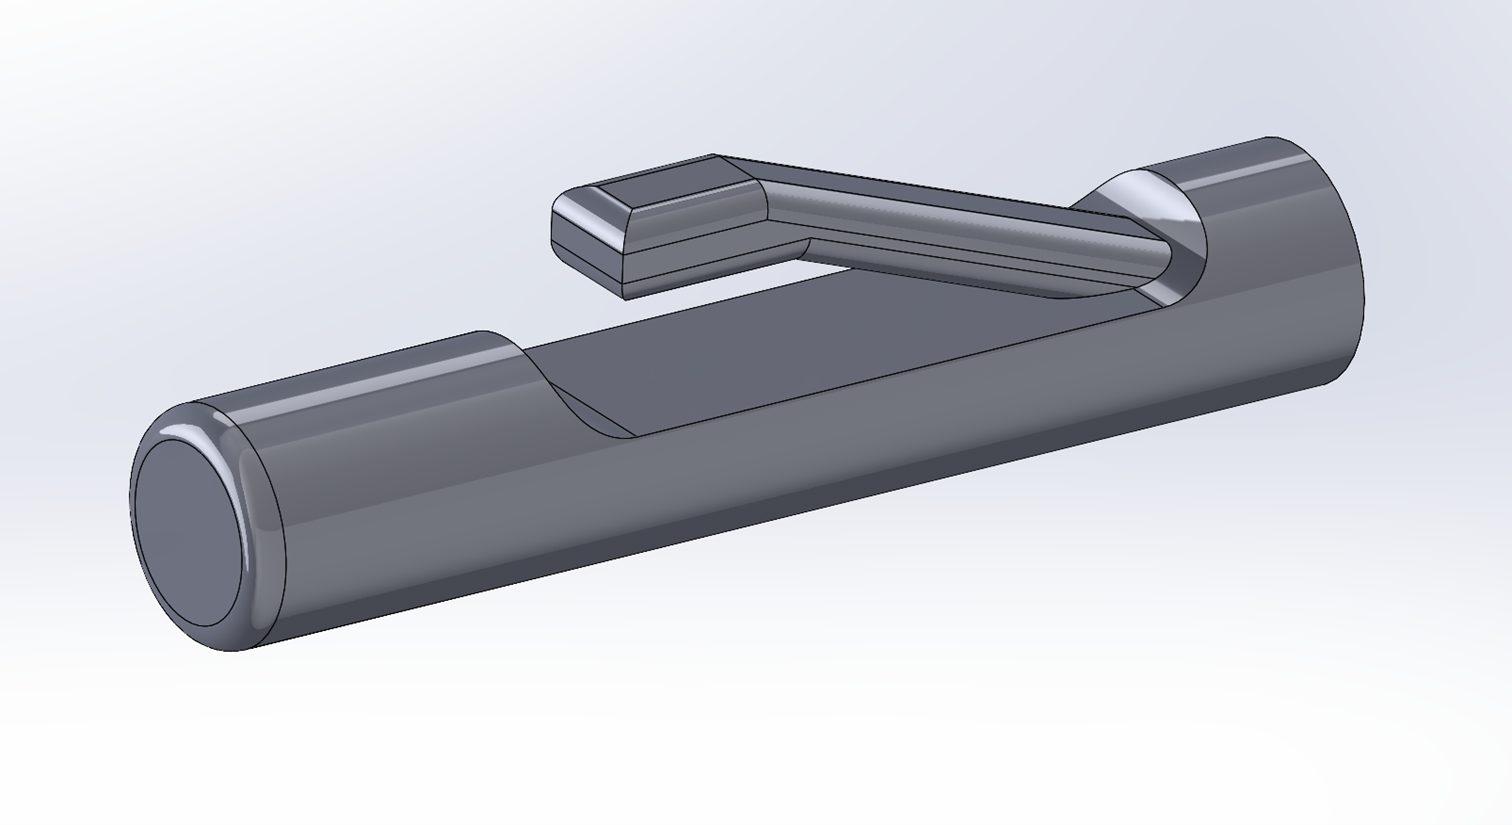
Button Mechanism
The button mechanism allows the ink cartridge to extend or retract. It's designed to fit securely within the main body while maintaining smooth operation.
3 – Assembly
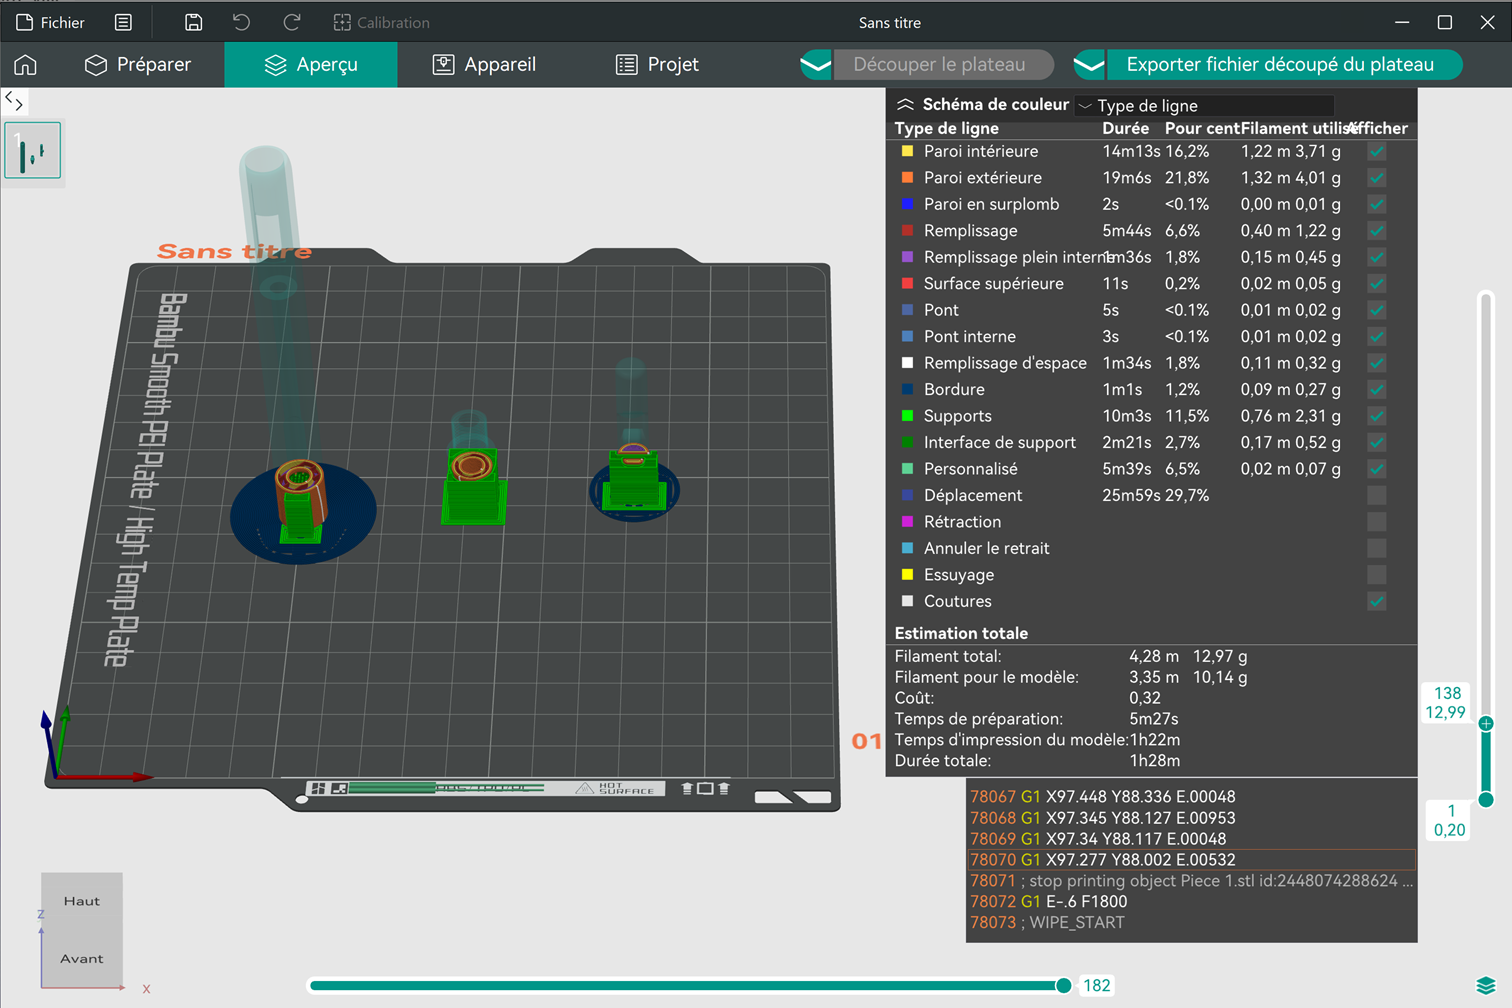
4 – Using OrcaSlicer for Printing
Preparing the 3D models for printing using OrcaSlicer software.
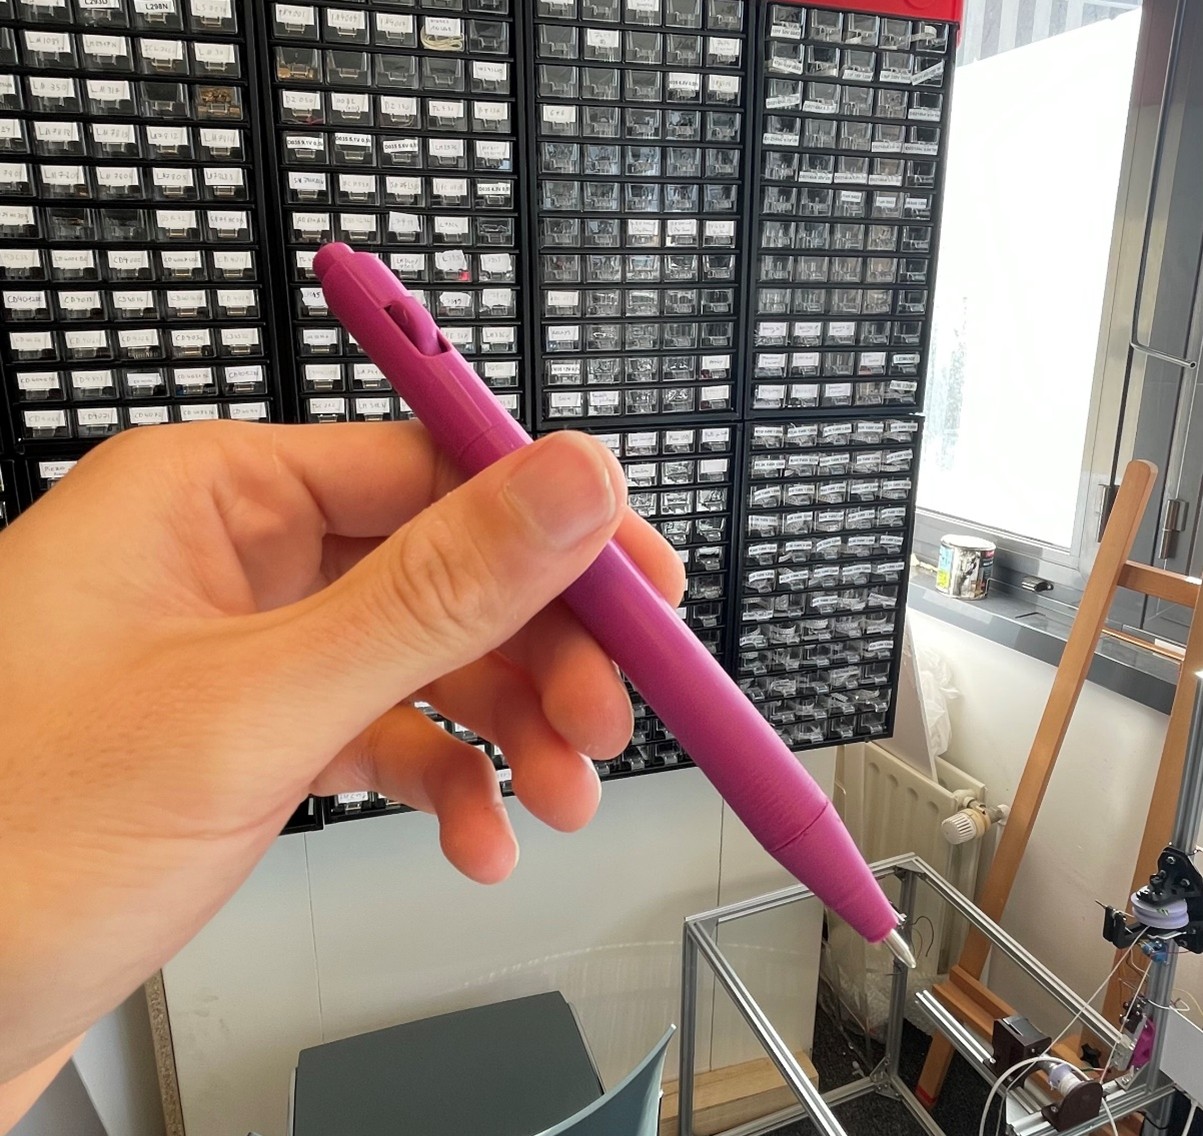
5 – Final Result